If you have been using Epicor for some time at your place of business, you have encountered the need to send the output of a report to a directory on the network. If you only need to do this once, you can simply print to your PDF writer and send it to the directory. If you need to do this multiple times, on schedule, then you will want to use APM. Setting up APM is simple, but not trivial, so herewith we have provided illustrated steps to set up APM to dump the output of a report to a directory on the network:
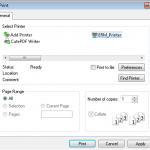
- Send APM a copy of the report you want to process. Do this by running the report, hitting print, and selecting the ERM printer.
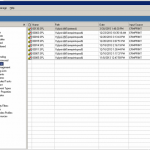
- Run doc-link Administrator to set up the APM rules. If you navigate to the “Capture/Errors” section, you should see the document you just printed. APM didn’t know what to do with it, but we will set that up now.
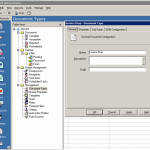
- Navigate to the “Management/Document Types” section, and click the “New” toolbar button. Enter a description of the type of document you are processing. We shall call ours “Invoice Drop.”
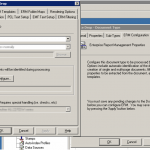
- Inside the new document type dialog, select the “ERM Configuration” tab and click “Configure.” In the configuration dialog under “ERM Options,” locate the “Identify Document” section and click “Contents,” then “Configure.”
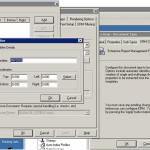
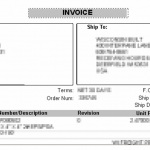
- In the configuration window, click Add, then type the text inside your document that will uniquely identify this document type. In our case, this is “INVOICE.” In order to uniquely identify a document, APM will look in a specific region of the document to find the text in question. Click “Select” to launch the document identification region selector.
- Select the region around the document heading to tell APM where to look to find the “INVOICE” title, and then press the “Save and Close” button.
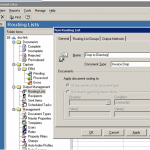
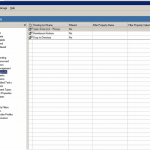
- Now that we’ve told APM how to identify the document we’re looking to process, we have to tell APM what to do with the document. Navigate to the “Output Management/Routing Lists” Press the “New Routing” toolbar button and name the new routing “Drop to Directory” and select the “Invoice Drop” document type.
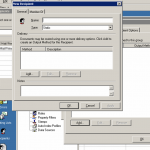
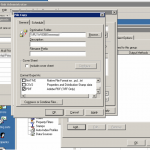
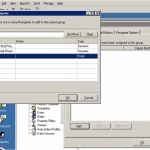
- Now, we have to click several buttons in a row. Select the “Output Methods” tab, click the “Add…” button. The “Select Recipients” dialogue will appear. Click the “New…” button. In the “New Recipient” dialogue, click the “Add…” button again, and select the “File Copy” option.
- Fill out the “File Copy” dialog with the settings you require, particularly destination folder and output format.
- We call our new file copy destination “File Drop.” Select that option in the “Select Recipient” dialogue.
- Note that your routing is now set up.
- Now, navigate to the “Capture/Errors” section again. Note your document at the top of the list, right click, and select “Reprocess.” If you have followed all of the steps properly, you will see the document magically apear in your chosen directory. All that is left to do is schedule the report to run (on a schedule you choose) and print to the ERM printer.
Here at Deft Flux, we are committed to making business information systems work without pain. If you need help setting up APM or other, more challenging tasks, call us.

